
Expansion microscopy

Why ExM?
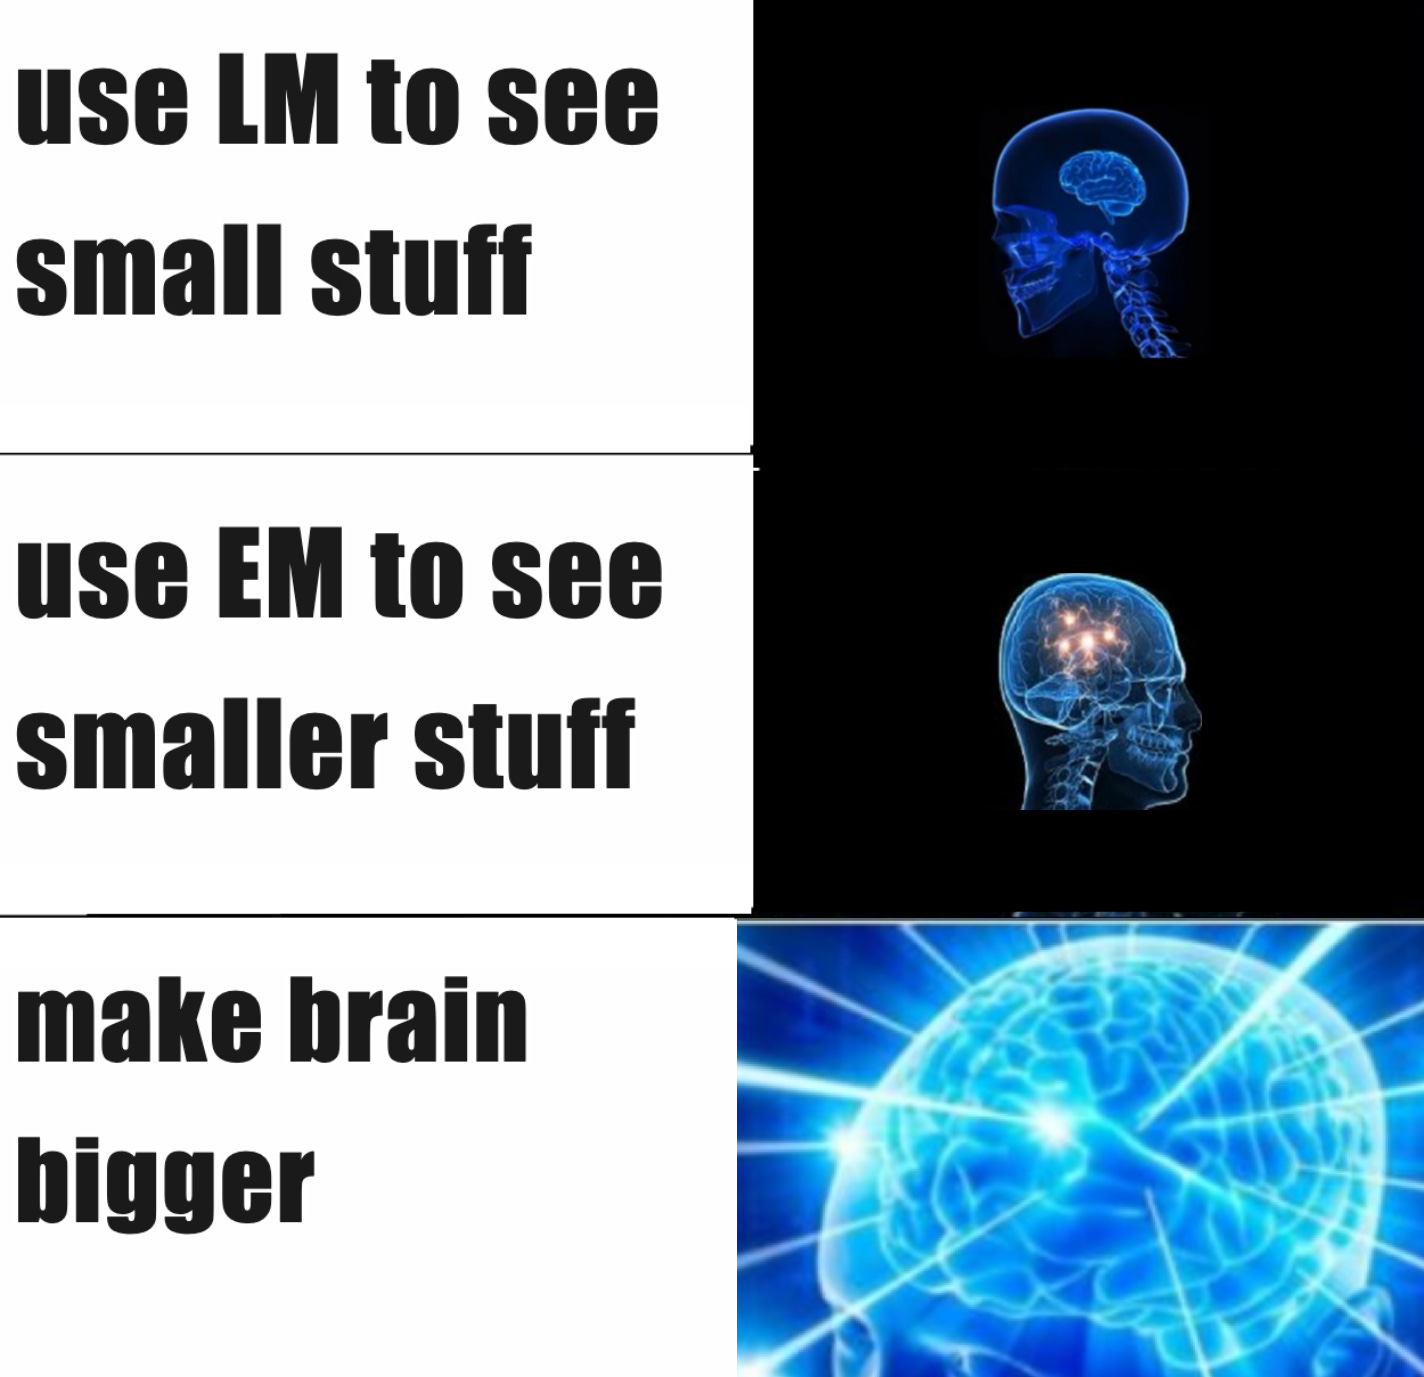
In my microscopy primer, we saw that light microscopy has a fundamental limit to how small a thing it can see, and this is why scientists use electron microscopy (EM) for the smallest things.
But electron microscopes are $$$,$$$,$$$ expensive and also slow, while a decent light microscope is only $$$,$$$ expensive, noticeably faster, and lets you see molecules in color.
So someone had the bright idea…if we can’t make photons smaller1, and we can’t see everything we want to in the brain, why don’t we make our brains bigger?
In 2015, Boyle lab found a way to do this, using…diapers.
What is ExM?
Expansion microscopy, aka ExM, turns biological tissue into a hydrogel and then expands it.
Hydrogels are like sponges: when you put them in water, they suck up the water and grow bigger. Once they’ve done this, they look like jello, which is why they’re called gels. The inner lining of diapers is made of hydrogels so that they soak up the pee. If you’ve ever seen a really soggy diaper2, you’ll have a feel for how much bigger hydrogels can get.
How do you turn a slice of brain into jello? There’s four basic steps of ExM:
Anchoring: Hook anchors to all the molecules in your tissue.
Gelation: Turn your tissue into a gel (which the anchors will attach to.)
Disruption: Weaken the bonds between the molecules of your tissue.
Expansion: Put the tissue in water and let it grow, pulling all the molecules of your tissue further apart.
I’m going to use a silly, complicated analogy here to describe this in more detail. Bear with me.
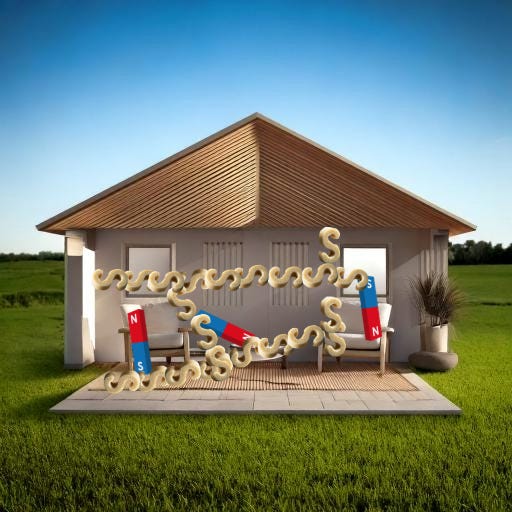
Start by picturing your cells like a house.

Anchoring
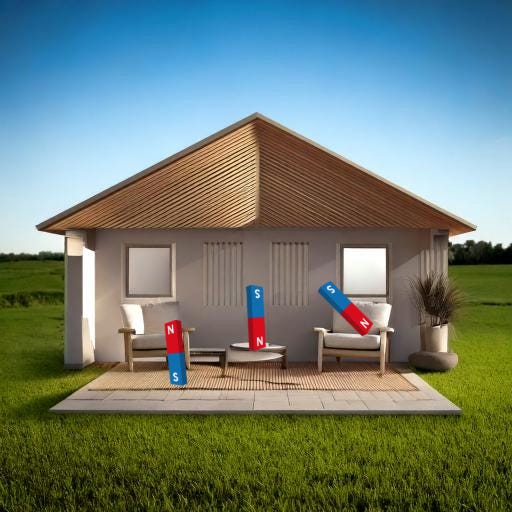
For this first step, I want you to picture gluing magnets3 all over your cell-house.
I imagine it something like this…
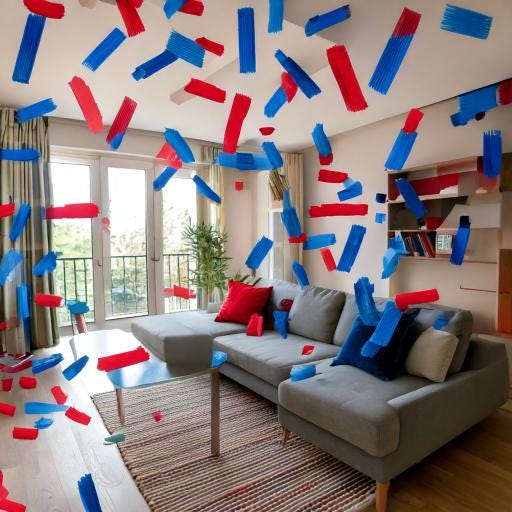
… but for our simplified version, we’ll just go with one magnet per furniture.
You soak your tissue in some epoxide chemical—I’m using GMA, glycidyl methacrylate, rhymes with, uhh, suicidal meth acrid late—which latches onto most of the molecules in your cell-house. (With the notable exception of lipid membranes…which make up the ‘walls’ of the cell-house.)
For the purpose of this analogy, the red North ends are latching onto the furniture, and the blue South ends are hanging free until the next step.
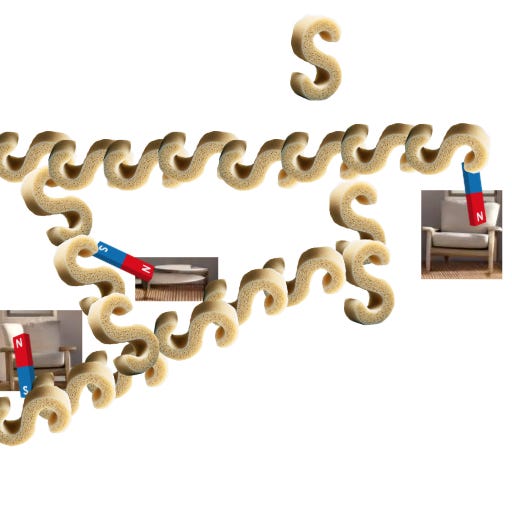
Gelation
Next you flood your house with a monomer solution. “Monomer” means a molecule that, under the right energetically-favorable conditions, will attach itself to others of the same monomer in long chains, becoming a polymer. (“Mono” meaning one, “poly” meaning many, and “mer” meaning, uhh, from the sea.)
We’re going to picture these monomers like S-hooks made out of sponges4.
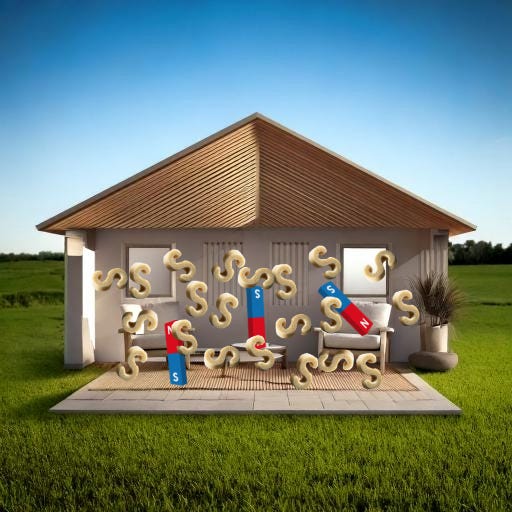
Then you bake your cell-house in the oven, which makes all the S-hooks latch onto each other in long chains, forming a grid-network5.
During this step, those blue South ends of the magnet will stop being free-floating and will attach to a nearby spongey S-hook. Thus all your furniture will be attached to your sponge grid.
Congrats, your brain is now a hydrogel.
3. Disruption
This is the Step Of Many Names. It might be called:
denaturation, if you use a lye-like chemical called SDS6 to unwind proteins
denat, if you’re me and think “denaturation” is too long to keep writing out over and over
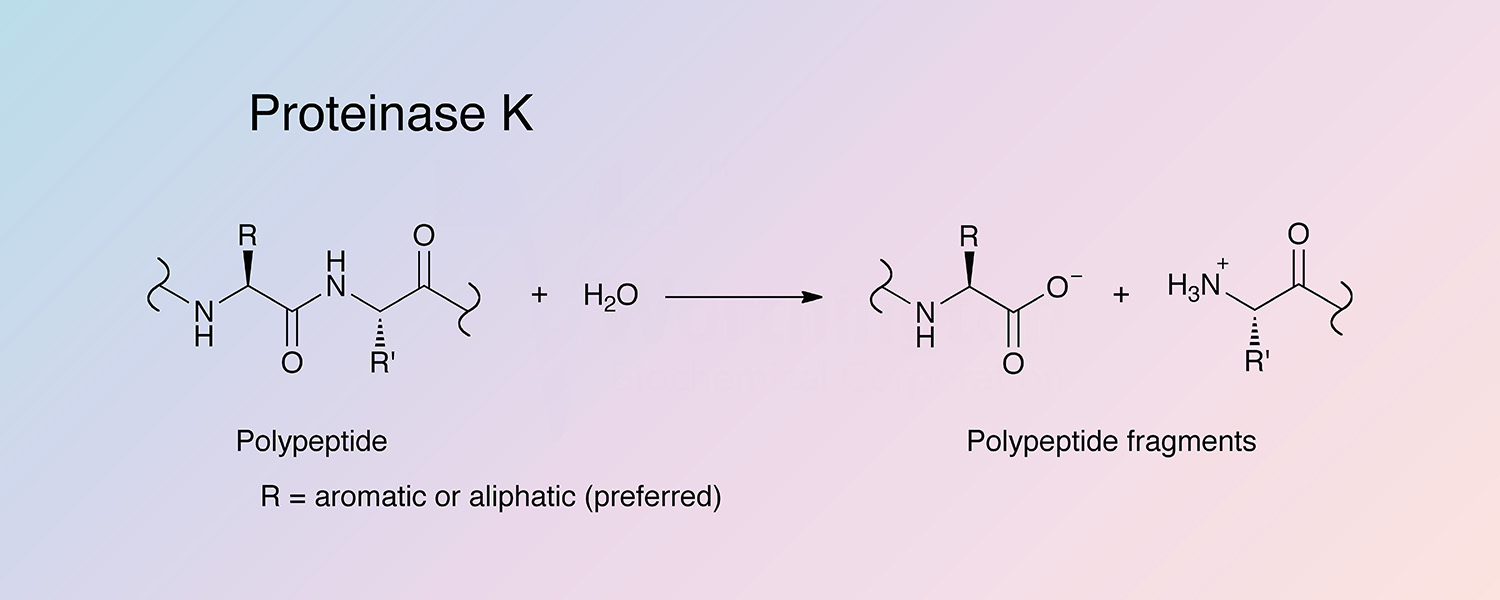
digestion, if you use a chemical called proteinase K to break apart proteins
tissue clearing, if you focus on the way the tissue looks afterward instead of on how it got there
disruption of mechanical cohesiveness, with terrible underlining, if you’re the liconn protocol


Whatever you call this step, the point is to crack your house into tiny pieces7.
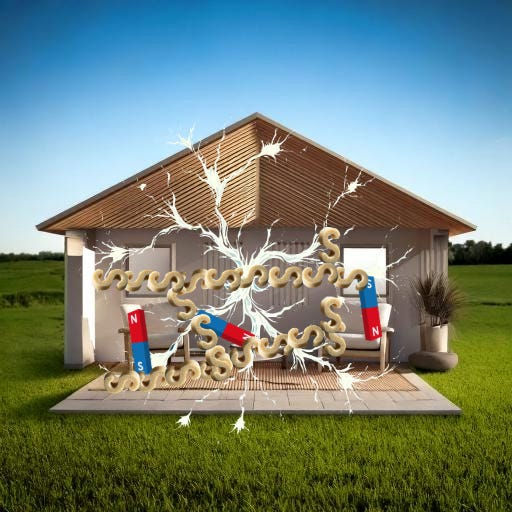
Since SDS also dissolves lipid membranes8, you could instead picture this step as pouring a special lye over your house that dissolves all the walls and only the walls. Instead of the above picture, you get something more like:
Whichever image you use, the point is that the connections between the parts of the structure get loosened or broken down.
Unlike my three-furniture house, cells are full to the brim with proteins, so maybe take a moment to imagine a warehouse of storage units, all packed to the ceiling, but then with all the walls between units dissolved. The furniture all stays in the same relative place because it’s already been glued to the sponge-chains that wind between them. And part of the disruption phase is not just dissolving the walls, but also making sure that all the pieces of furniture that have rusted, melted, or otherwise glued themselves together get shaken apart and unstuck.
4. Expansion
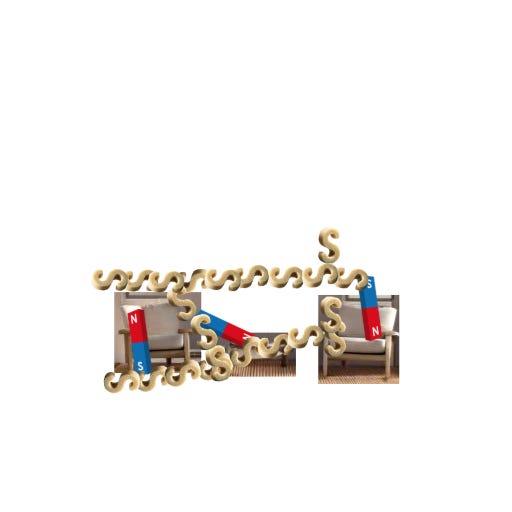
The final step is the simplest one to actually do: you stick your sample in water. In my analogy, water makes the S-hook sponges swell up. The polymer grid pushes apart, carrying the anchored tissue bits with it:
This is why the disruption step is important: it has to weaken the existing bonds so that the force of the expanding sponges can rip the tissue bits apart from each other.
If done right, everything stays in the same relative position. (My pictures don’t reflect this as well as they should, because I didn’t have enough sponges, because I got tired of adding sponges. Mea culpa, I’m not re-drawing it.) Staying in the same relative position is important, because otherwise your expanded sample would be a warped version of the original, and you wouldn’t know when your final images were wrong.
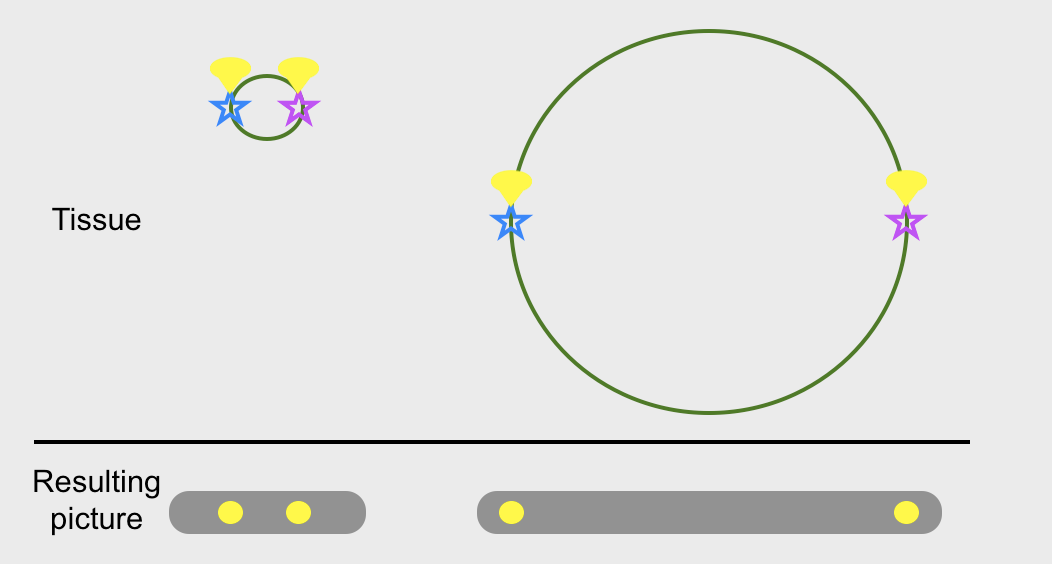
Notice that the protein-furniture in your house doesn’t change size, only moves apart from each other. It might seem like this doesn’t do you any good, if everything is just as small as it always was, but remember that you’re attaching a fluorescent lightbulb to any piece of furniture you want to see, and bouncing 400–700 nm photons off it. If your things that used to be 30 nm apart are now 600 nm apart, they’re suddenly within the resolving power of photons.
Advances
The above four steps are an overall outline of ExM, but to actually do it, you’ll need to find or make a protocol, a step-by-step list of what chemical solutions your sample will be in, for how long, at what temperatures, and so on.
ExM protocols have proliferated since its invention in 2015, as more labs try it on more types of tissue with more goals in mind. U-ExM promises 4x expansion—that is, four times bigger than it started—of the entire proteome (all the proteins), X10 promises 10x expansion, ePACT and MAP aim for whole-organ expansion, ExFISH focuses on RNA, and so on. 16x expansions are becoming common, and 20x is not unheard of.
In 2024, an Austrian lab9 published doing ExM that was good enough for the part of brain science that we in particular are interested in: mapping every connection between neuron and synapse, i.e. connectomics. They called their protocol LICONN. For reference, it has on the order of 32 steps.
We decided to try it ourselves. Hijinks have ensued.
I mean, there are smaller photons than the ones in visible range, obviously. But these (a) don’t have 199 years worth of people trying to develop smaller and cheaper and readily-available machines to detect them (i.e. cameras), and (b) become increasingly likely to fry your sample, the smaller the photons go.
I deny ever letting any of my seven kids get a soggy diaper. Nope, not even once. >.>
Lost opportunity to picture nautical anchors for the anchoring step, but I thought of the magnets first, and I’m not going to go back and re-draw all the pictures.
Despite the lost opportunity to picture monomers as merfolk and polymers as merfolk holding hands.
You include a crosslinker that binds two chains together where they cross.
sodium dodecyl sulfate
Your tissue is extremely unlikely to crack completely apart, but the disruption step at least weakens bonds between adjacent parts. It doesn’t affect the polymer chains or the anchoring magnets, just the underlying tissue.
Most expansion protocols that aren’t specifically aimed at retaining membranes will use SDS, even if proteinase K is the main component, because without membranes, the tissue is clearer and it’s easier for the microscope to see the fluorophores that you’ve put in it.
At least, slightly over half of the authors seem to be from Austria.